Thursday, May 24, 2018

Picoboot Adruino with autobaud


Since the v1 release of picobootSTK500, I've been able to test it on many different Arduino compatible boards.  The biggest problem I've had relates to the various baud rates used by different bootloaders.  Optiboot, which is used on the Uno, uses 115.2kbps, while the Pro Mini m328 uses 57.6kbps.  The default baud rate for the Pro Mini m168 is even lower at 19.2kbps.  While modifying the boards.txt file is not difficult, it introduced unexpected problems.  For testing purposes I keep a couple boards with a stock bootloader, and they won't work unless I change the baud rate back to the default.  I also keep a couple versions of the Arduino IDE for compatibility tests, which adds to the confusion of changing boards.txt files.  Having had some time to think about the best solution, I decided to add automatic baud rate detection to picoboot.

From reading the avrdude source, I knew that it starts communication with the target by sendingthe GET_SYNC command '0' at least 3 times.  '0' is ASCII character 48, and when sent over a serial UART connection, the bitstream including start and stop bits is 0 00001100 1.  With 5 assembler instructions, I can count the low duration of the frame:
1:  sbic UART_PIN, 0 ; wait for start bit
    rjmp 1b
1:  adiw XL, 1 ; count low time
    sbis UART_PIN, 0
    rjmp 1b

The counting loop takes 5 cycles, and since there are 5 low bits, the final counter value is the number of cycles per bit.  Dividing that number by 8 and then subtracting one gives the AVR USART UBRR value in double-speed (U2X) mode.

The Arduino bootloader protocol is almost identical to the stk500 protocol, and so it is relatively easy to write a bootloader that is compatible with both.  For this version I decided to eschew stk500 compatibility in order to save a few bytes of code.  Because of that, and to make it more obvious that it is an Arduino-compatible bootloader, I renamed it to picobootArduino.

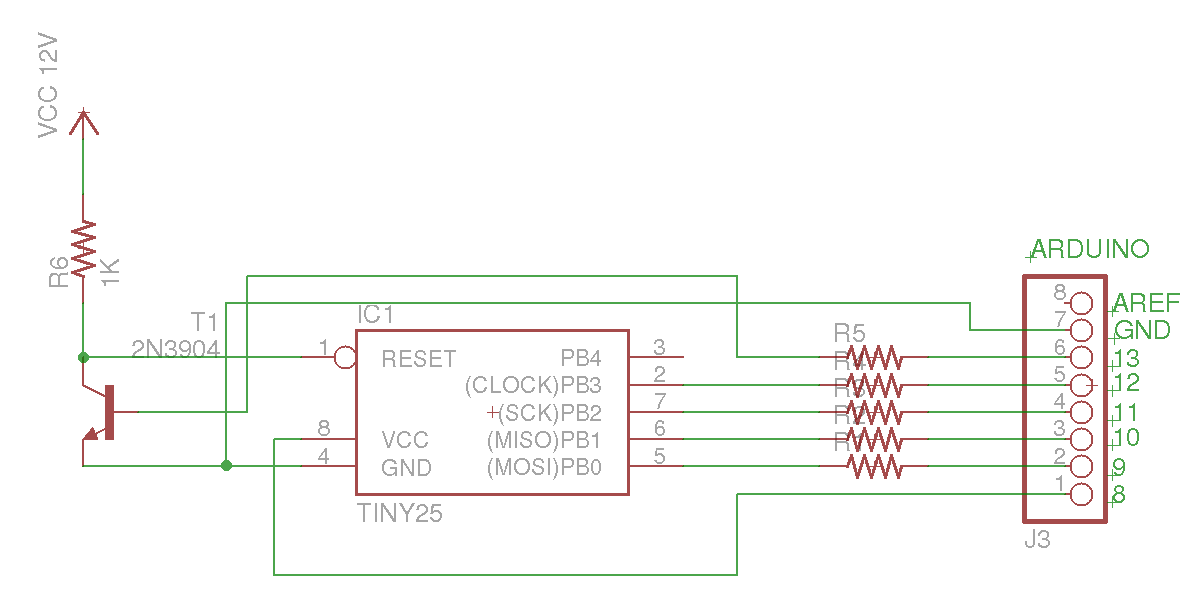
With picobootSTK500 v1, a LED on PB5 (Arduino pin 13) was used to indicate that the bootloader was waiting for communication from the host.  In order to make it simpler to use with a bare ATmega168/328 chip on a breadboard, while the bootloader is waiting it brings the Tx pin (PD1) low, which will light up the Rx LED on the connected USB-TTL converter.  As with v1, resetting the AVR will cause it to toggle between the bootloader and the loaded app.  This means it works easily with TTL adapters that do not have a DTR pin for the Arduino auto-reset feature, as well as simplifying it's use with a bare breadboarded AVR.

Despite adding the extra code for the autobaud function, the bootloader is still less than 256 bytes.  In my testing with a 16Mhz Pro Mini clone, the bootloader worked reliably with baud rates from 19,200 to 115,200.  The code and pre-built versions for ATmega328 & ATmega168 are available from my github repo.
https://github.com/nerdralph/picoboot/tree/master/arduino

I also plan to test the bootloader on the mega88 and mega8, where a small bootloader is more beneficial given their limited code size.

Tuesday, May 15, 2018

PiggyFuse HVSP AVR fuse programmer


Although I've been working with AVR MCUs for a number of years now, I had never made a high voltage programmer.  I've seen some HVSP fuse resetter projects I liked, but I don't have a tiny2313.  I think I was also hesitant to hook up 12V to an AVR, since I had fried my first ATMega328 Pro Mini by accidentally connecting a 12V source to VCC.  However, if you want to be an expert AVR hacker, you'll have to tackle high-voltage programming.  Harking back to my Piggy-Prog project, I realized I could do something similar for a fuse resetter, which would simplify the wiring and reduce the parts count.

I considered using a charge pump to provide 12V, like some other HVSP projects do, but adding at least 3 diodes and capacitors would more than double the parts count.  I also realized that most AVR hackers probably have a 12V power source available.  Old ATX power supplies have 12V on the 3.5" floppy connector, which 0.1" pin headers easily plug into.  Old DSL modems and home routers often run from a 12V DC supply.  I decided to use a 14.4V tool battery with a small switching converter.  I even thought of using one of my TL431s, but hooking up a few alligator clips to the switching converter was quicker.

Instead of just copying another program verbatim, I decided to implement the core of the programming algorithm myself.  The AVR datasheets list two algorithms, though all of the HVSP programs I could find followed the first algorithm and not the alternative one.  Both algorithms are somewhat obtuse, and even seem to contradict the datasheet specifications that state the minimum latching time for Prog_enable is only 100ns.

After debugging with my oscilloscope on a tiny13 and a tiny85, I realized that the two parts have different ways of entering HVSP mode.  The tiny13 will enter programming mode when it powers up and finds 12V on the reset pin, while the tiny85 requires the reset pin to be at 0V on power-up before applying 12V.  Although the datasheet doesn't explicitly state it, the target drives SDO high when it has entered HSVP mode and is ready for commands.  In the case of the tiny85, that happens about 300us after applying 12V to the reset pin.  However with the tiny13, that happens much sooner, around 10us.  This means the datasheet's recommendation to hold SDO low for at least 10us 12V has been applied is not only wrong, it's potentially damaging.  During my experimenting, I observed my tiny13 attempting to drive SDO high while the programmer was still holding it low.  That caused VCC to drop from 5V to 4V, likely approaching the 40mA maximum I/O current maximum.  And since the datasheet specifies a minimum VCC of 4.5V for HSVP, the droop to 4V could cause programming errors.  In the scope image, the yellow line is VCC, and the blue line is SDO.

Instead of waiting 300us after applying 12V to send any commands, I considered just waiting for SDO to go high.  While this would work fine for the ATtiny13 and ATtiny85, it's possible some other parts drive SDO high before they are ready to accept commands.  Therefore I decided to stick with the 300us wait.  To avoid the contention on SDO shown in the scope image above, I switch SDO to input immediately after applying 12V.  Since it is grounded up to that point removing any charge on the pin, it's not going to float high once it is switched to input.

Another source of potential problems with other HSVP projects is the size of the resistor on the 12V reset pullup.  I measured as much as 1mA of current through reset pin on a tiny13 when 12V was applied, so using a 1K resistor risks having the voltage drop below the 11.5V minimum required for programming.
I recommend using around 470 Ohms, and use a 12.5V supply if possible.


Putting it all together

As shown in the very first photo, I used a mini-breadboard with the 8-pin ATtiny positioned so that the Pro Mini will plug in with its raw input at the far right.  In the photo I have extra wires connected for debugging.  The only required ones are as follows:
12V supply to RAW on the Pro Mini
GND supply to GND on the Pro Mini
Pullup resistor from 12V supply to ATtiny reset (pin 1)
NPN collector to ATtiny reset
NPN base to Pro Mini pin 11
NPN emitter to Pro Mini pin 12 & ATtiny GND
ATtiny VCC (pin 8) to Pro Mini pin 6

The Pro Mini must be a 5V version.  The optional resistor from the Pro Mini pin 6 lights the green LED when the Pro Mini has successfully recognized a target ATtiny.  Although the program outputs logs via the serial UART at 57.6kbps, it uses the on-board pin 13 LED to allow for stand-alone operation.  Failure is a long flash for a second followed by 2 seconds off.  Success is one or two short flashes.  One flash is for my preferred debug fuse settings with 1.8V BOD and DWEN along with RSTDISBL.  Two flashes is for my "product" fuse settings with RSTDISBL.  The program will alternate between debug and product fuses each time the Pro Mini is reset.

The code is in my github repo:

And finally, the money shot: